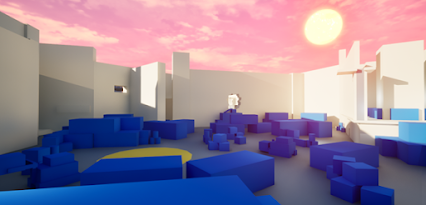
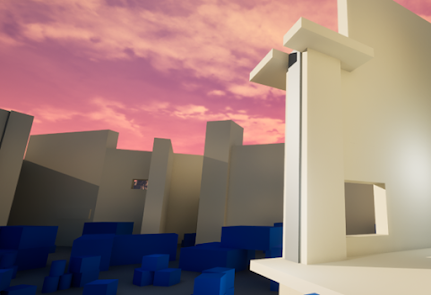
Breach entry and Supply Box for Ammo:
The Taskforce has breached the Lab facility by driving an armoured vehicle through a wall. Next to this breach they have set up an impromptu ammo cache for their soldiers where they can restock their ammo and restore Health.
Approaches
to the Upper Lab Capture Point:
The Taskforce spawns closest to the Upper Lab Capture Point and have two main approaches they can take; the far staircase or they can climb up the containers to a breach in the wall straight into the Upper Lab area.
The Large Window:
A large window gives Players more clues as to the isolated setting of this map and Environmental Design will be made interesting for anyone who takes the time to stop and look around.
The
Long Corridor:
A long corridor runs alongside the Upper Lab Capture Point on the Ground Floor and allows ample opportunity for mid to long range shooting.
The Lower Labs and Offices:
Allowing for mid to short range skirmishes like those in Counter Strike, the Lower Labs allows for flanking and has many points of ingress/egress.
Upper Lab Capture Point:
The Upper Lab Capture Point is fairly open with limited sight line blockers, making it harder to attack and defend.
Overlooking the Containers Capture Point:
From the Upper Lab area Players can see down to the Containers Capture Point.
The
Long Bridge:
The
Window into the Lab Storage Capture Point:
Lab
Storage Capture Point:
The Lab Storage Capture Point is not too far from the Containers Capture Point, but is more defensible but has many angles that need to be covered.
The
Lab Storage Capture Point Dropdown:
The
Sniper Nest:
The
Sniper Nest POV:
Containers
Capture Point:
The Containers Capture Point is very open and hard to hold, making competition for it fierce. Cover is littered around the point, but there is little on the point itself.
The
Observatory Point of Interest:
The
Breach into the Main Lab Capture Point:
Main
Lab Capture Point:
Main
Lab Peek-Through:
The Peek-Through window allows both teams to see who is in the Main Lab Capture Point and who is flanking around it through the Holding Cells & Cargo area.
Holding
Cells & Cargo Room:
The Holding Cells & Cargo Room allows the Security Team a means to leave their spawn room without going through the Main Lab Capture Point.
The
Security Spawn Point:
This is where the Security Team will spawn; a Security room with many monitors.
Supply
Box for Ammo:
The Security Spawn point has a built-in armoury where the Security Team can restock their ammo and restore Health much like the Taskforce Team.


.png)
.png)


No comments:
Post a Comment